Point of Sale
Introduction
Imagine walking into a store, picking out what you want, and heading to the counter. That moment—when you pay for your items—is where the Point of Sale (POS) comes in. But behind the scenes, it’s doing a lot more than just ringing up your purchase. The Point of Sale is responsible for:
- Calculating totals and taxes
so you don’t have to.
- Accepting different payment types
like cash, cards, or digital wallets.
- Updating inventory
so the retail store knows what’s sold and what needs restocking.
- Recording the sale
for accounting and reporting.
Prerequisites
Before creating and using Point of Sale, it is advisable to create the following first:
Steps to create a POS Invoice
In order to create a POS Invoice, you must perform a sale at the Point of Sale.
Access Point of Sale
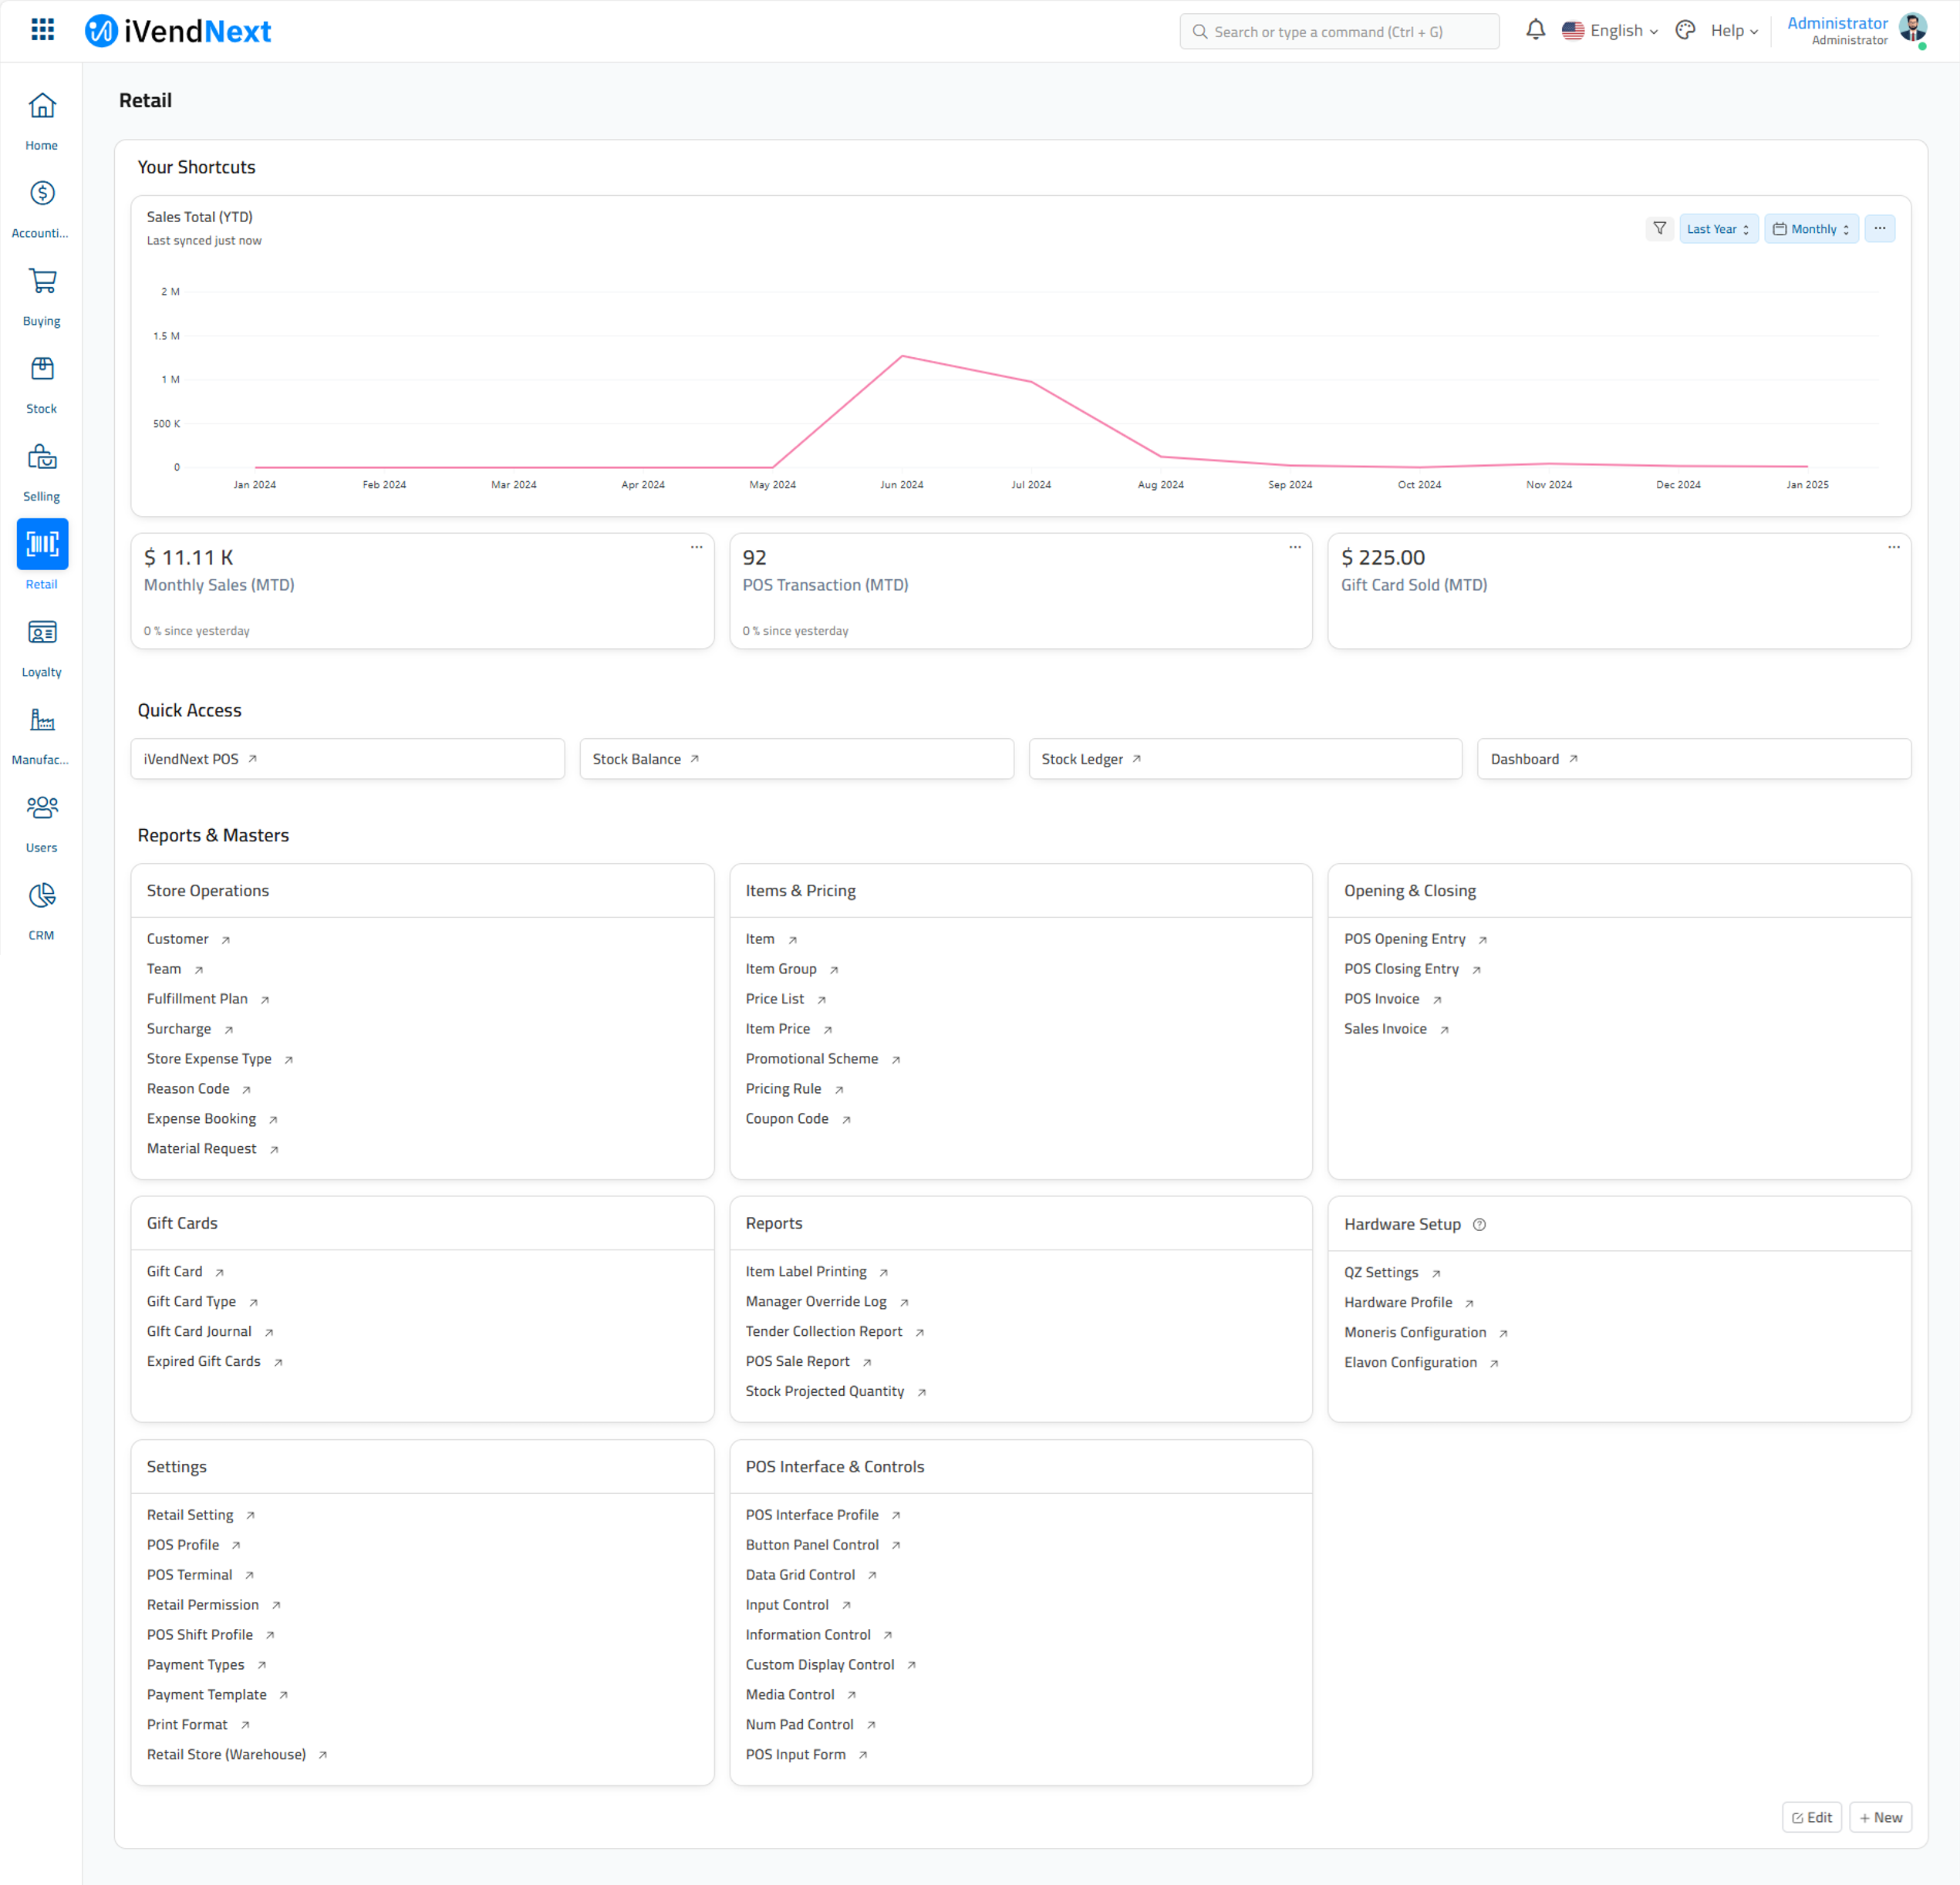
Login to iVendNext. Navigate to: Home > Retail. Under the Quick Access section click on the iVendNext POS shortcut to access the Point of Sale.
Select the POS Terminal
Select the desired POS Terminal from the drop down list (in case there are multiple POS Terminals set up)
Select the Cash Drawer
Select the Cash Drawer
Specify the Opening Amount
Specify the Opening Amount on the Opening Amount screen and click on the Start Selling button.
Perform a Sale
Get ready to perform a sale. To ensure smooth transactions, the sale process has been divided into key steps:
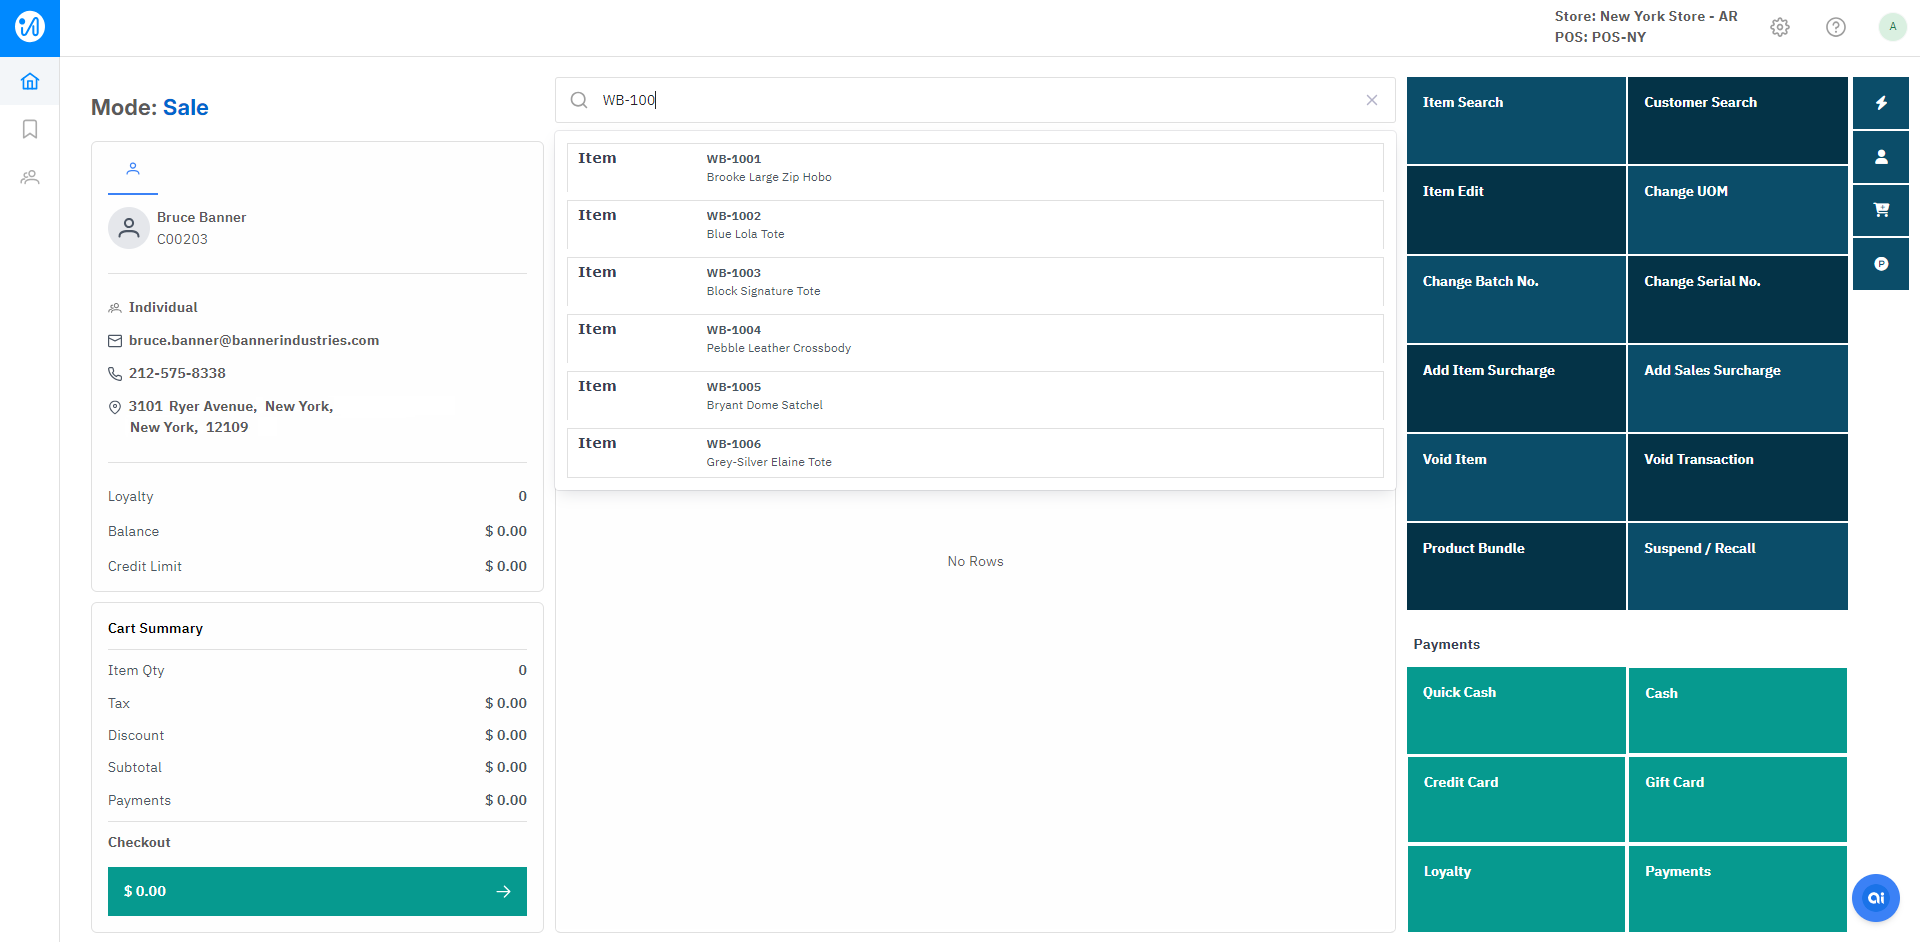
1. Add Items to the Sale Transaction
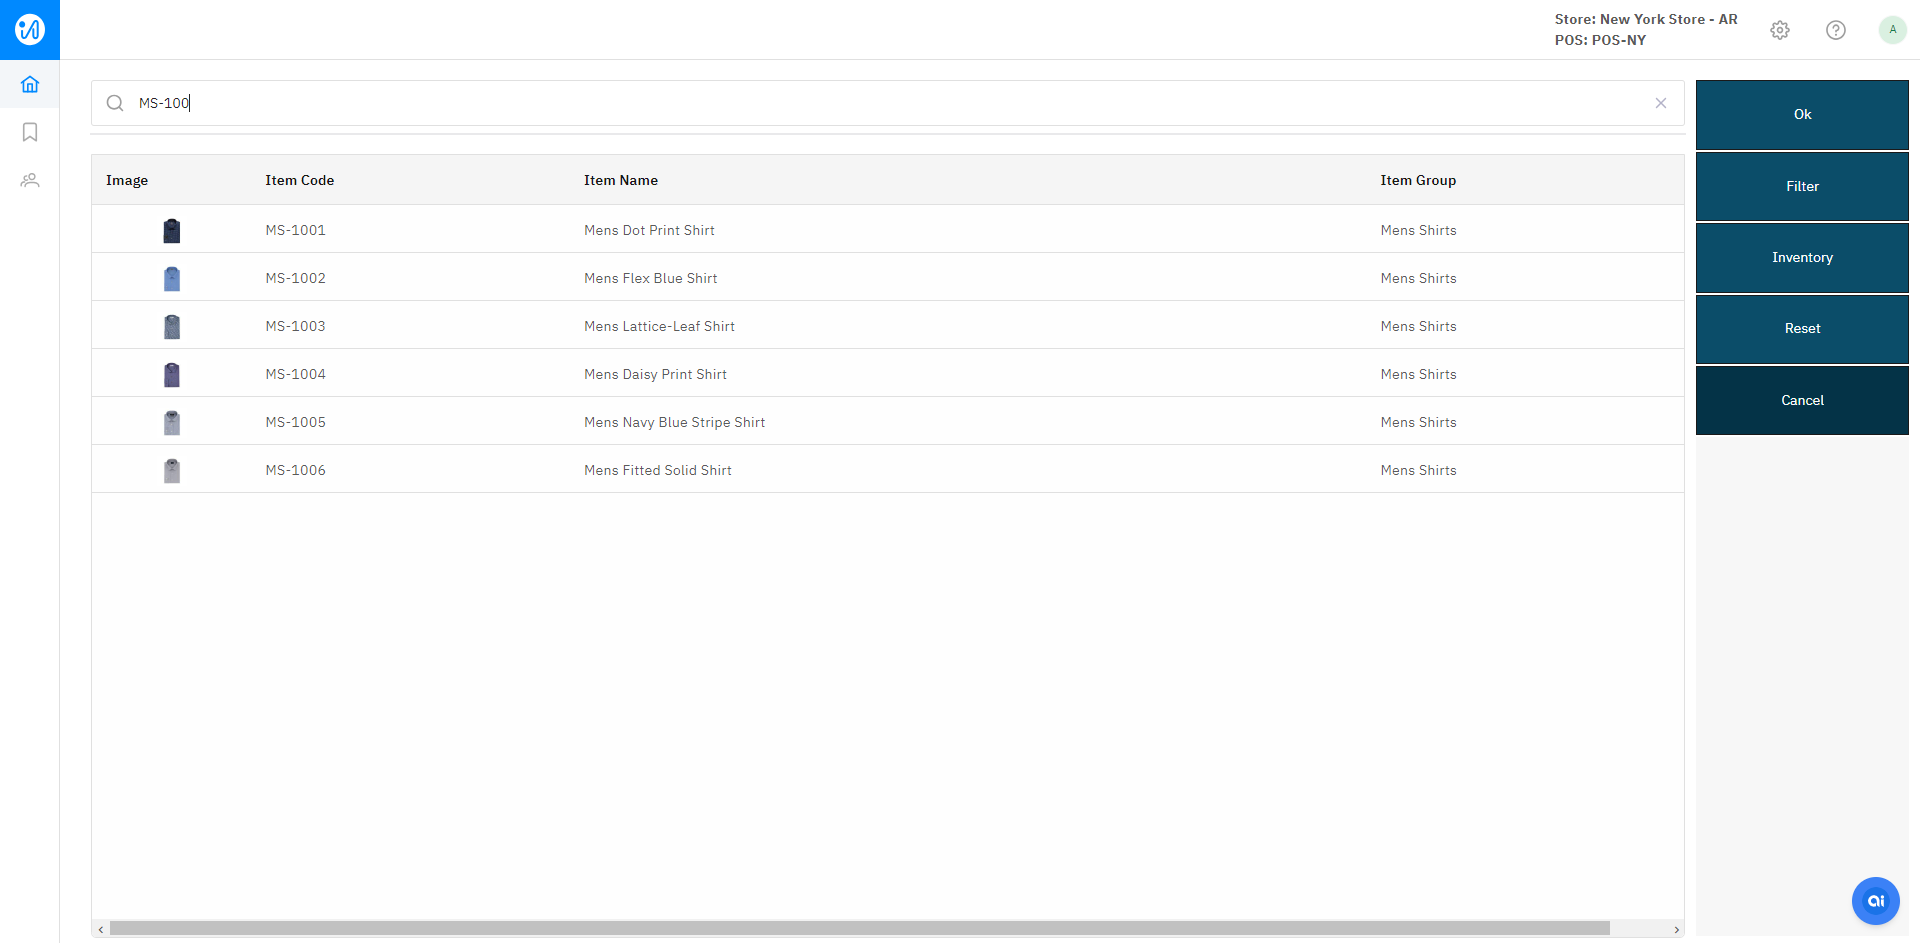
Select and add items to the transaction based on customer purchase requirements. You can make use of the Search Bar to perform an item search on the transaction screen. You can search an Item using the Item Code, Item Description, or Item Barcode.
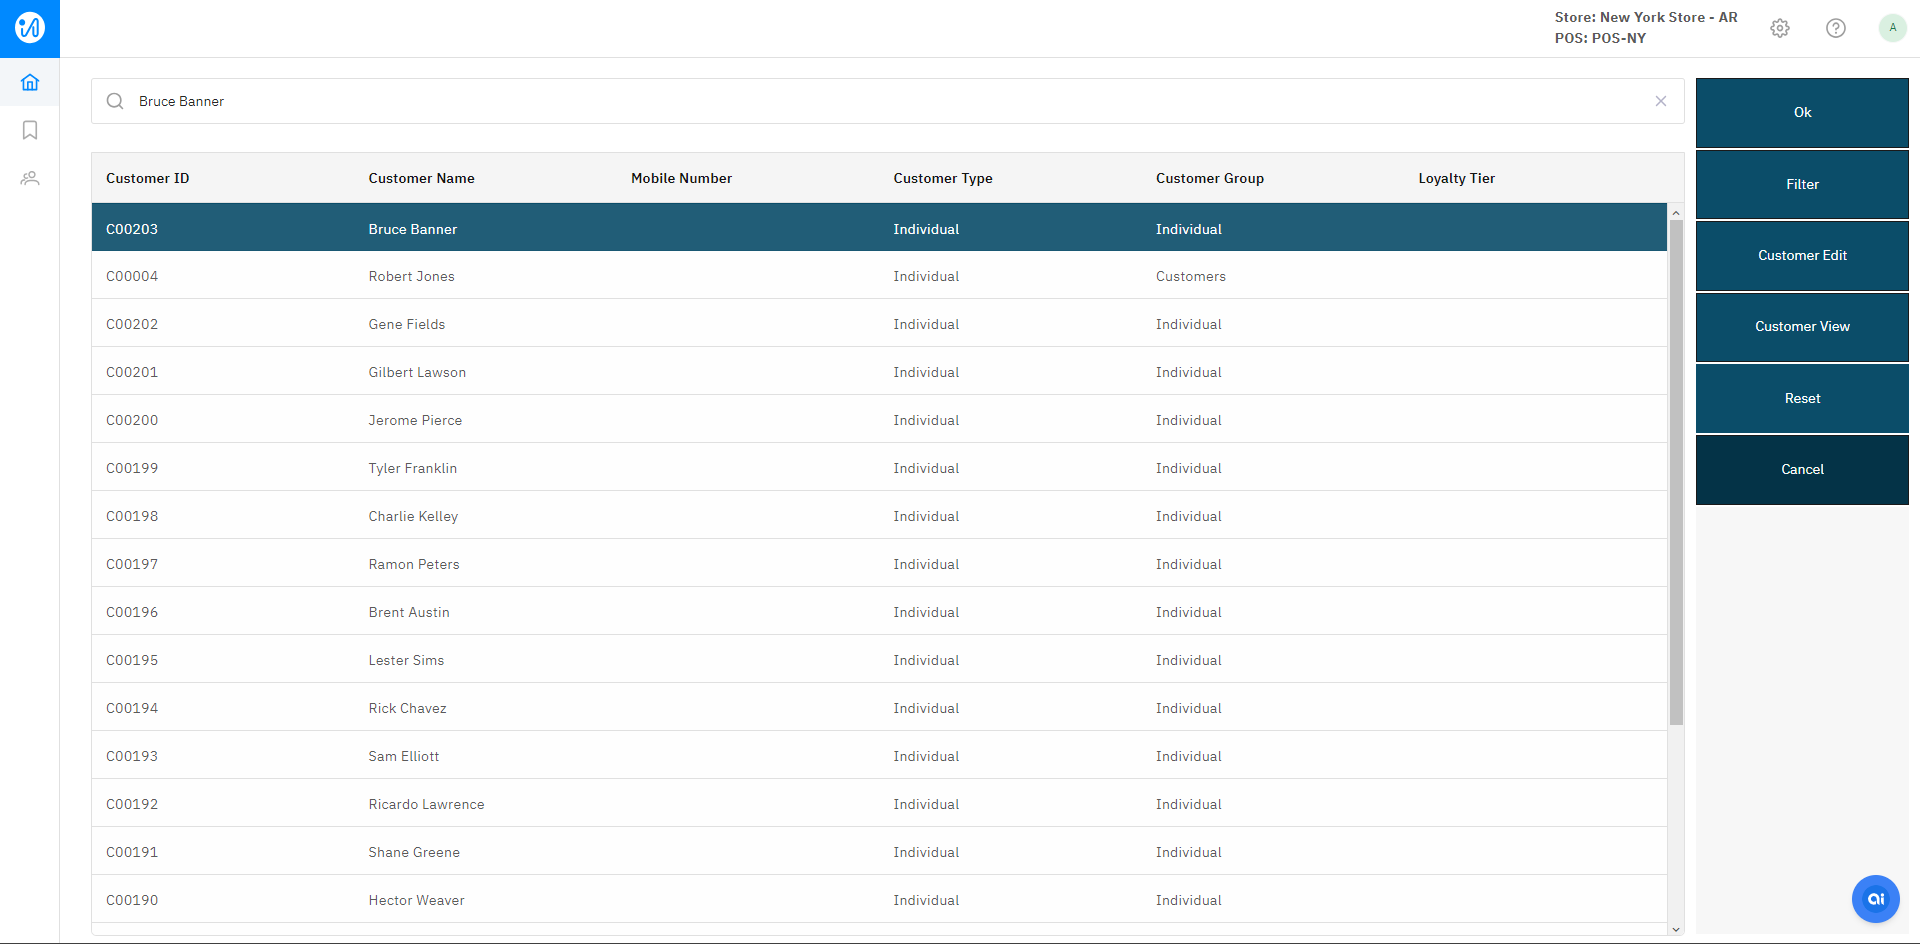
2. Add Customer to the Sale Transaction (Recommended)
Assign a customer profile to the transaction for better tracking, loyalty benefits, and personalized service.
3. Perform Sale Edits
Make necessary adjustments to the sale before finalizing. All these scenario based adjustments are optional.
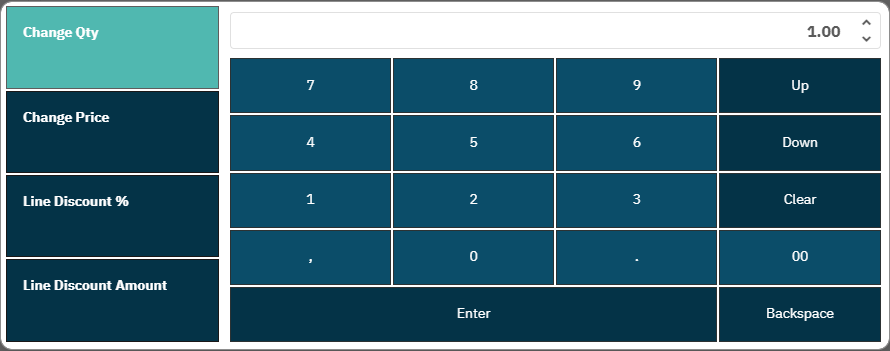
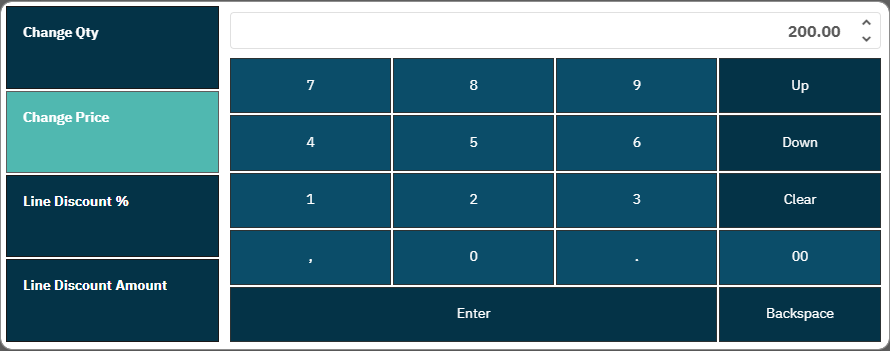
Modify item quantity (Optional)
Change unit of measure (Optional)
Adjust price (Optional)
Update batch number and serial number (Optional)
Apply discounts (optional)
Levy surcharges (optional)
4. Conclude Sale
Take Payment: Process the transaction using cash, card, digital wallets, or other accepted methods.
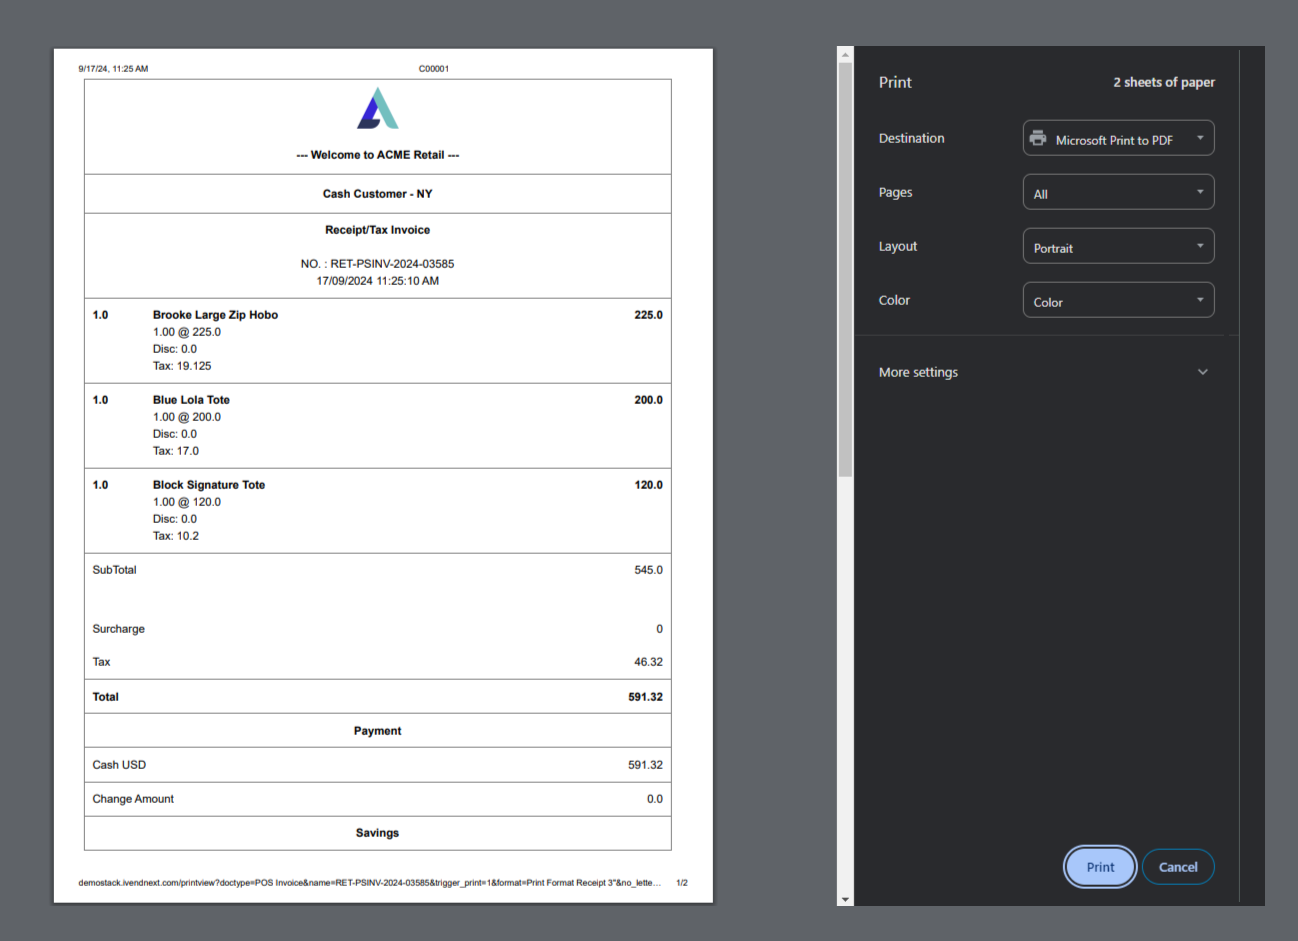
Print Transaction Receipt: Generate a receipt that includes transaction details, applied discounts, and payment confirmation.
To start a new transaction, simply click on the "NEW TRANSACTION" button and you will be taken back to the Enter New Sale screen to start a new transaction.
POS Invoice
POS invoice has been introduced in iVendNext with the sole purpose of facilitating faster data sync between iVendNext POS and iVendNext. It is just a regular invoice designed to record quick sale and immediate payment. By quick sale we mean you just need to add items, select a customer, and accept immediate payment. This process is much faster as compared to that on a regular invoice. It neither runs as many checks as in the Sales invoice nor does not have any effect on accounts. POS Invoices are designed to be printed on “till-tape” instead on a standard 8½ x 11 sheet of paper.
Important Points To Consider
You must consider the below points when performing a transaction at the Point of Sale.
Ensure the item has a defined selling price in the Item Price List.
To enable editing of the rate and discount, activate the corresponding options in the POS Profile.
A default warehouse must be specified to proceed with the transaction. If both the Item and the POS Profile define a warehouse, the POS Profile setting will take precedence.
Please note: Items must be available in the assigned warehouse before they can be sold. If an item is unavailable, a “Negative Quantity Resolution” error would popup.
The payment options will vary for a Walk-in-Customer and a Registered Customer. For walk-in customers the payment can be processed either in Cash or Credit Card or Gift Card. For registered customers, additional options like Loyalty, Store Credit and On-Account are enabled.
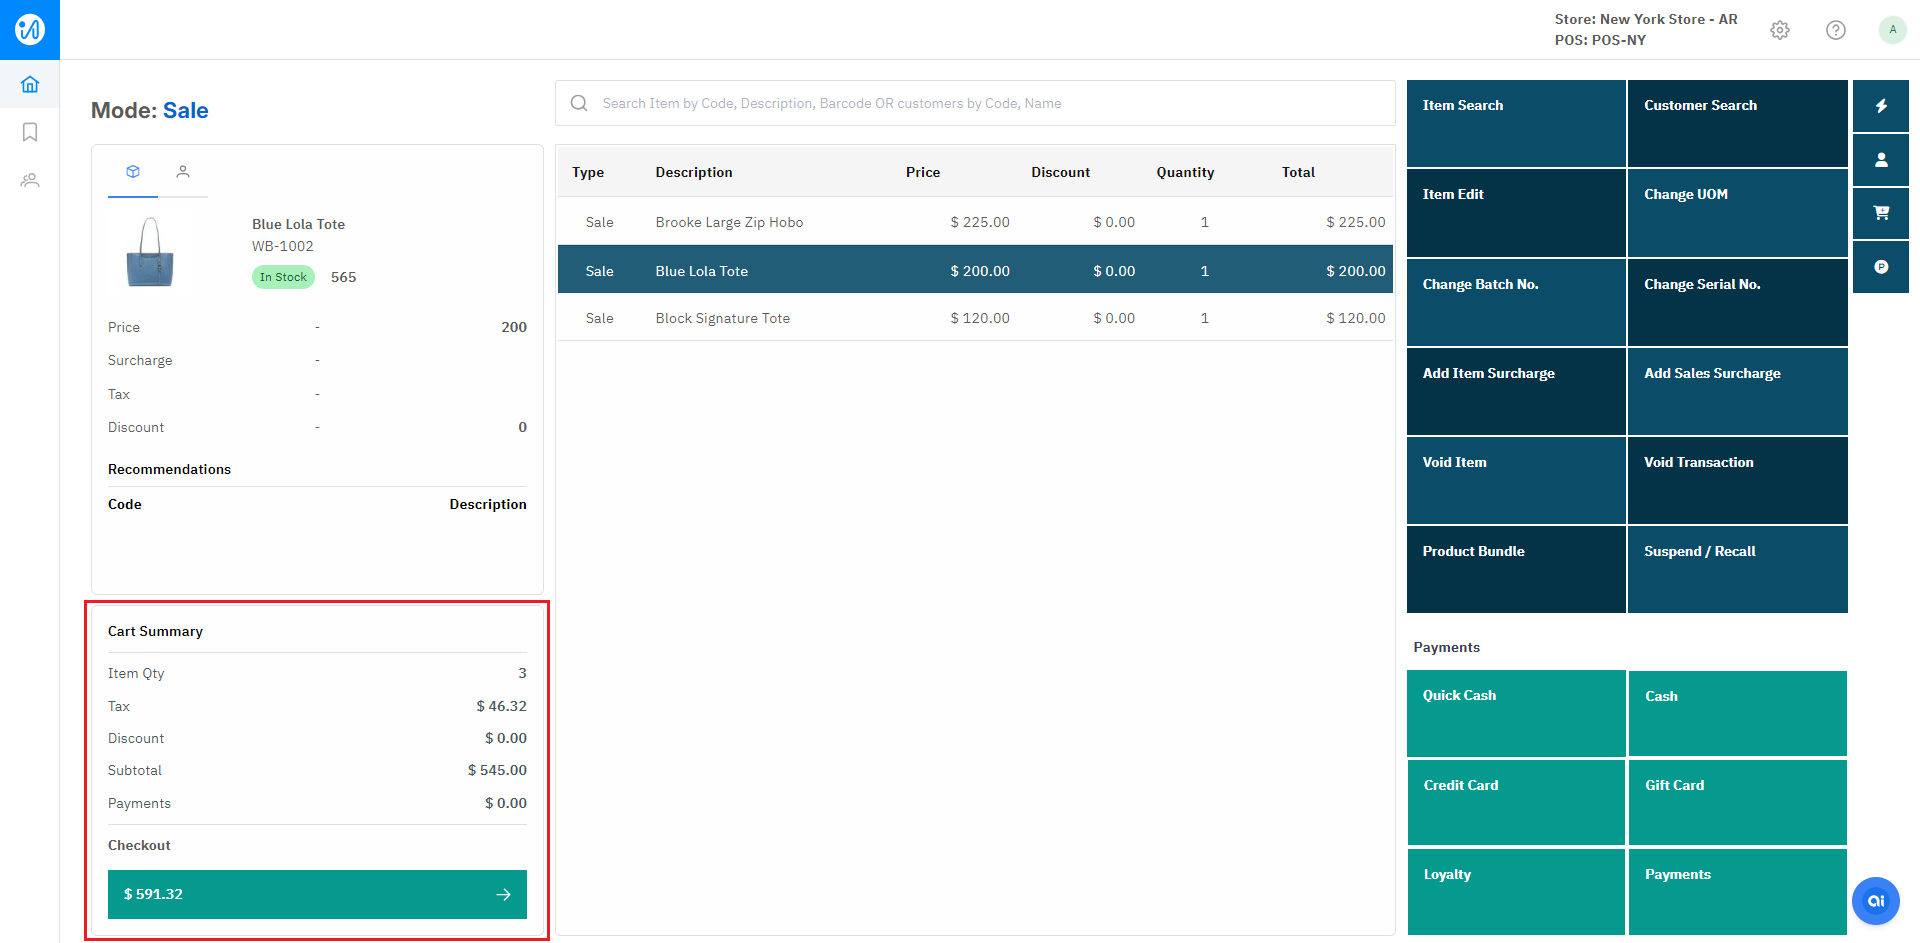
After adding all items, verify the net total, grand total, and total quantity using the summary section at the bottom of the screen.
