
Scanning and Searching
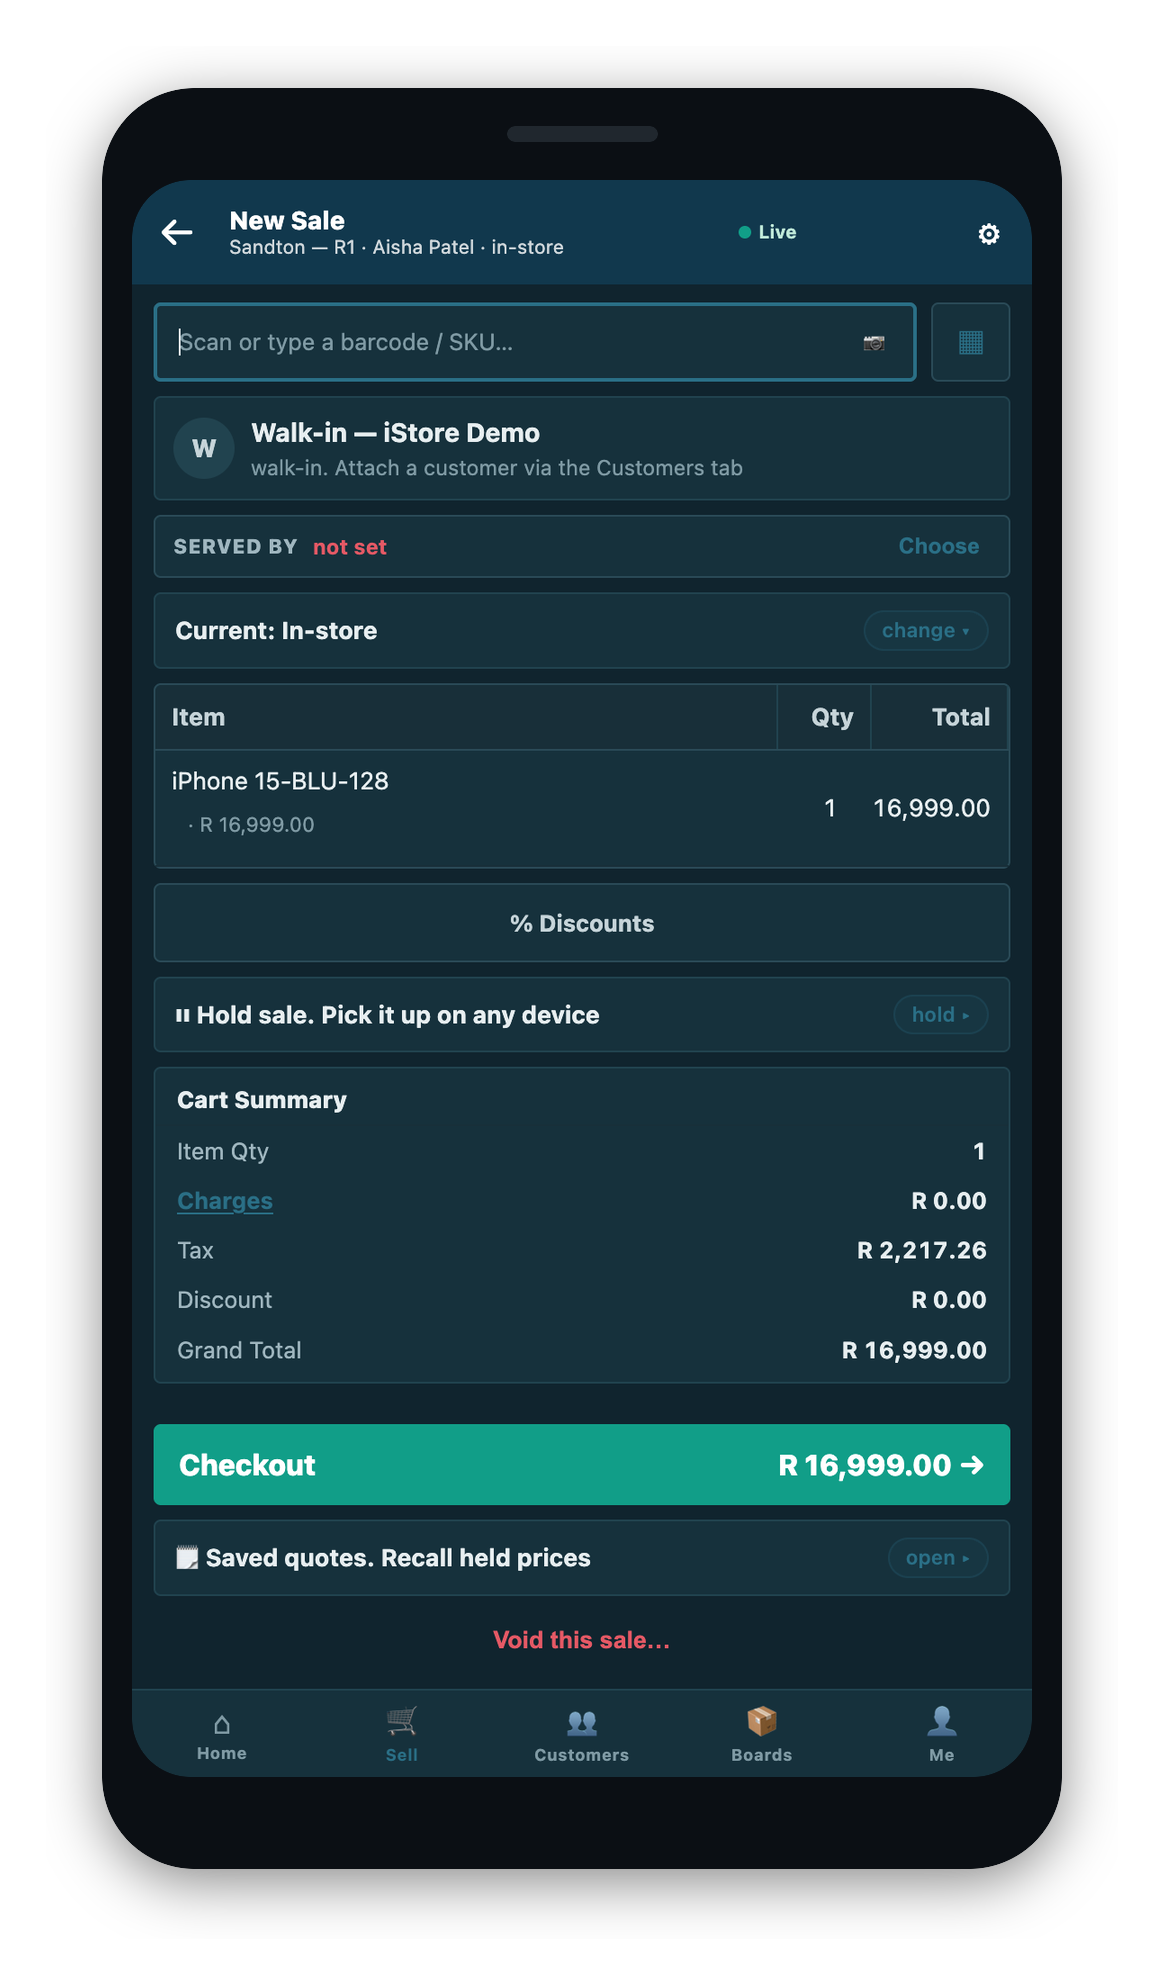
There are two ways to find an item on the Sell screen: scan it, or search the catalog. The scan box sits at the top of the Sell screen and reads Scan or type a barcode / SKU…. It has focus when you open a sale, so you can scan straight away.
Scanning an item
Scan with a connected scanner, or with the device camera. When the item is found, its line is added to the basket, the running total updates, and the app confirms it with an Added message.
You can also type a barcode or SKU into the scan box by hand and confirm it.
Scanning with the camera
The camera reads the same barcodes as a connected scanner. If the camera will not start, the app tells you why in one line, and offers you the choice to type the code or use a scanner instead. The usual reasons are:
- Camera access is switched off for the app.
- The device has no camera.
- The store's address is not a secure (HTTPS) one.
When a scan does not match
If a scanned code matches no item that the store sells, the app tells you it cannot be sold here. Check the label, or find the item by search instead.
Scale labels
Some items carry a printed scale label rather than a plain barcode. When you scan one, the app reads the label:
- A label that carries a weight uses that weight as the quantity. The number printed on the label as a price is never used to price the sale.
- A label that carries a price is priced by the store's system.
- A label that carries a serial number is read as that item's serial.
Browsing the catalog
When there is nothing to scan, open the catalog from the Sell screen. Items show with their product image, and you can switch between list, grid, and compact views. The app remembers the view you chose.
Searching
Use the search box, Search the catalog…, to find an item by typing. Search looks through the fields your store has enabled. As shipped, that is item code, item name, and description. Suggestions appear as you type, and you can move through them with the keyboard.
Typed search and scanning do not read the same setup. Typed search follows the search fields your store configured. Scanning does not. It always matches a scanned code against the full set of barcode and item-code checks, whatever a store has narrowed its counter tills to. So a code that a counter till no longer matches on may still be found by scanning on the phone.
Seeing an item's detail
Tap a result to see its detail before you add it: its price, its selling unit, its stock position, its availability at other stores, and, for a product family, the variant chips. Add it from here when you are ready.
The stock badge
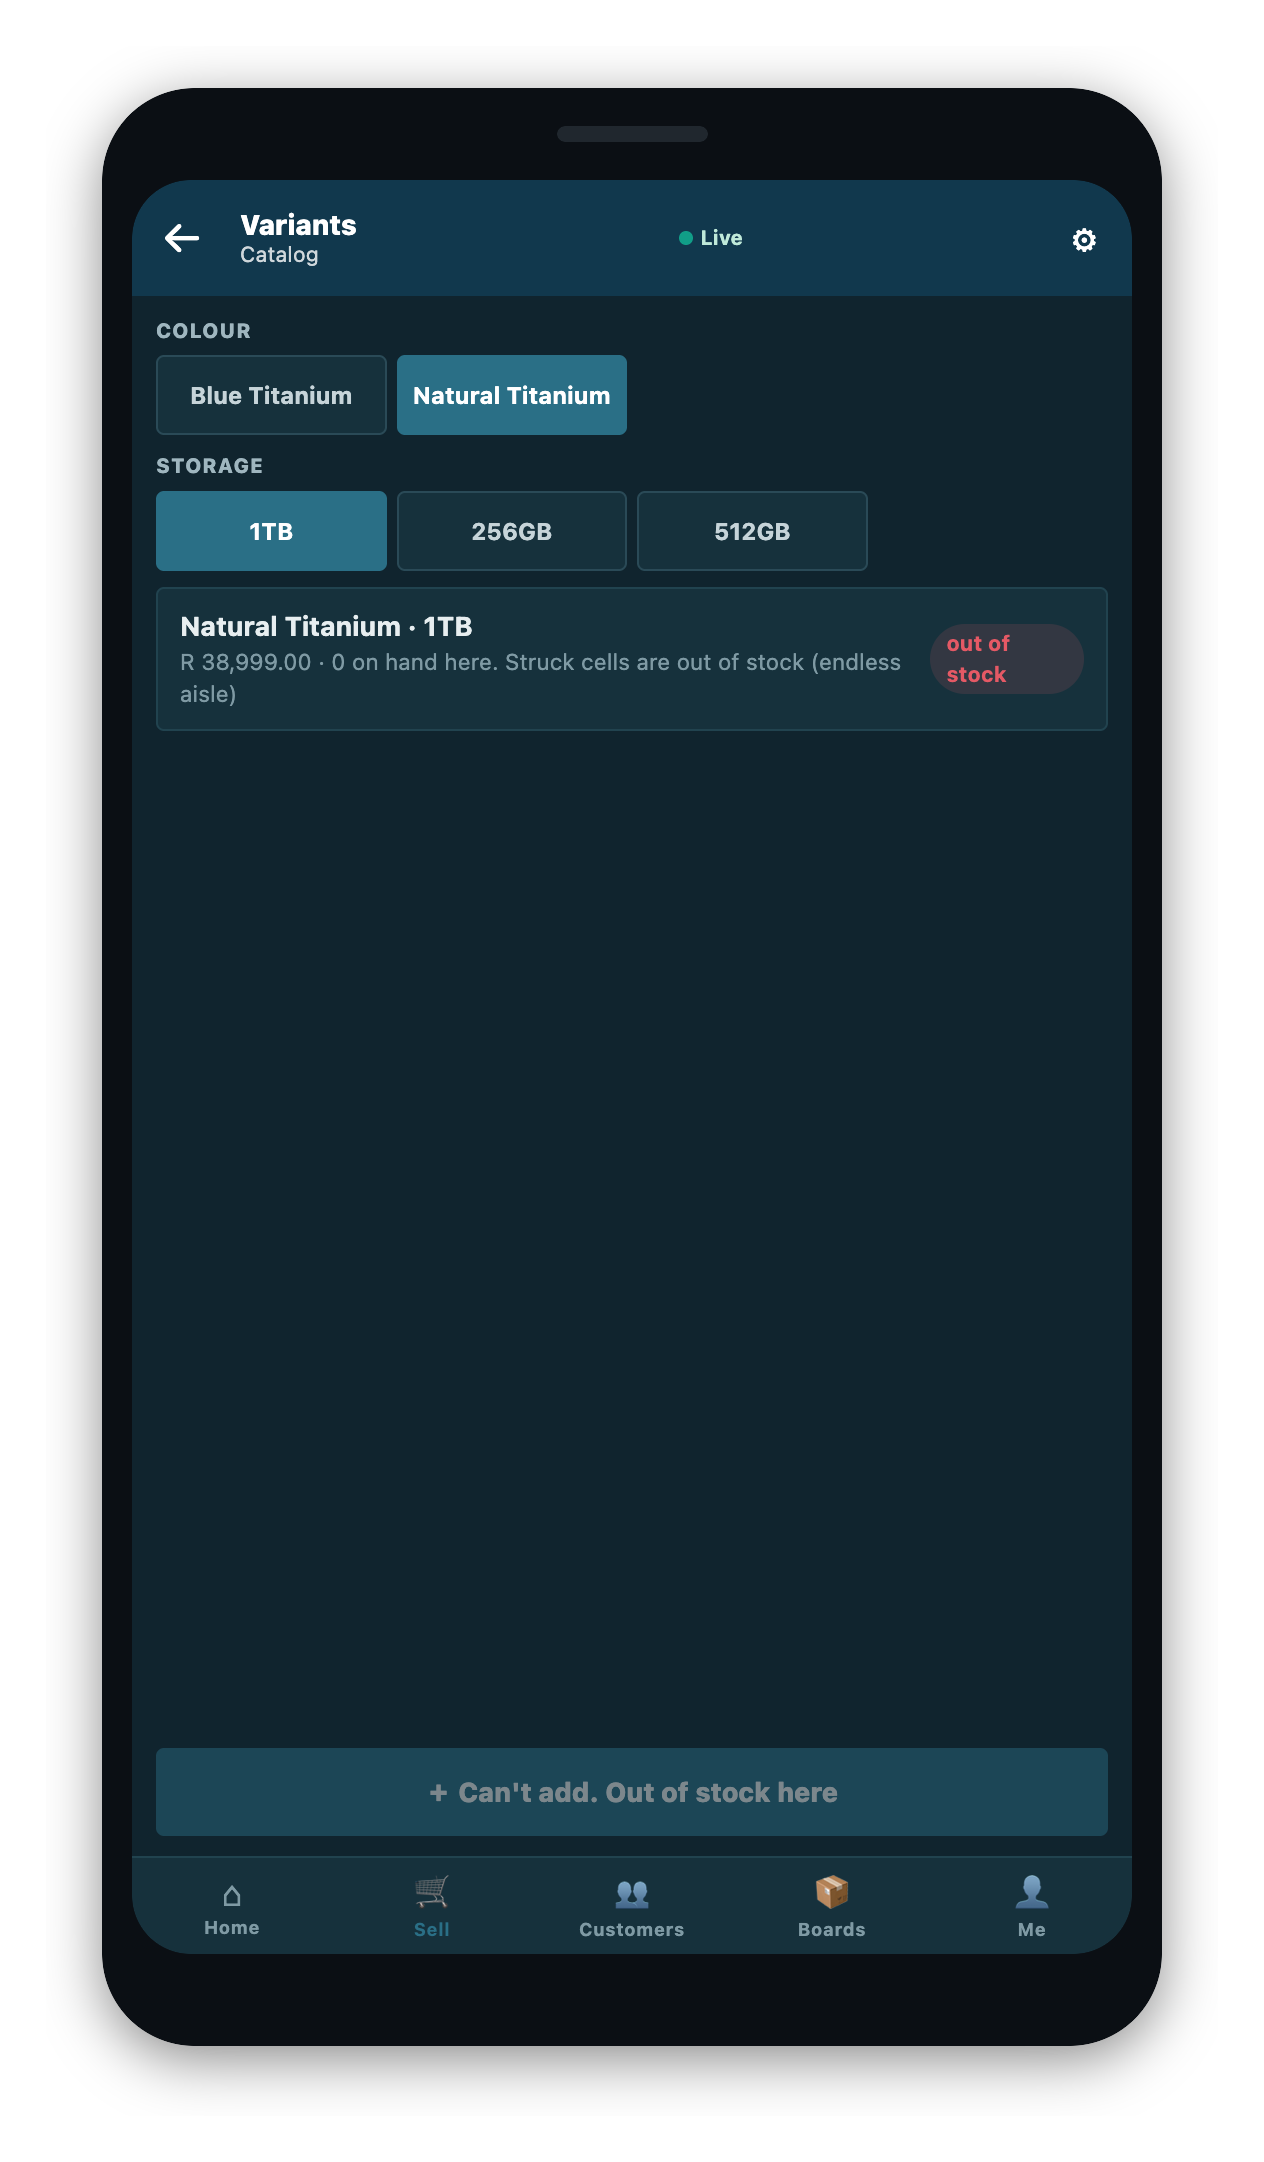
Each item shows a short badge for its stock position, such as left or on hand for a count, 0 here when there is none at this store, stock unknown when the figure cannot be read, service for a non-stock item, and variants for a product family. The badge is a live read from the store's system.
When an item is genuinely out of stock, and the store does not allow selling below zero, it is refused at the point it would be sold. A quotation or a layaway for the same item is still allowed.
Picking a variant
A product family, such as a shirt that comes in several colors and sizes, cannot be sold directly. When you add one, the app opens a chooser with the family's attributes. Pick each attribute, for example the color and then the size, and the exact variant you chose is added to the basket.
Some steps here need a connection. What still works during an outage is covered in Working Offline.