
Start here to open the app, sign in, choose your store and enter codes. Every other page depends on these steps.
Opening the app for the first time
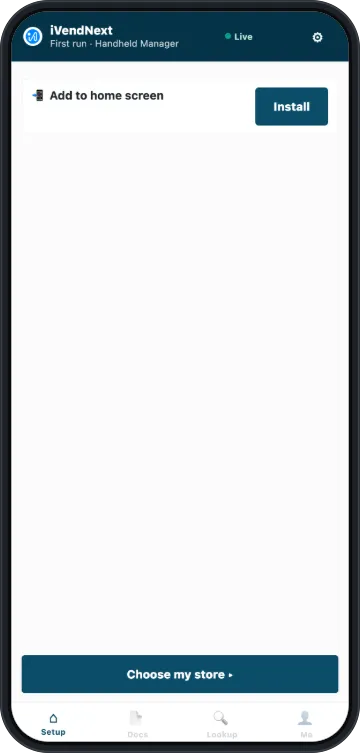
Your administrator gives you your site's address, which ends in /handheld.
- Open the address in the device's browser, and sign in.
- On the first screen, tap Install to add the app to the home screen. On an iPhone or iPad, tap Share, then Add to Home Screen. The app then opens full screen from its own icon.
- Tap Choose my store.
- Select your store and tap Continue. The list shows the stores set up for you. A store that cannot be used shows why, and you cannot select it.
You now see the home menu.
Signing in
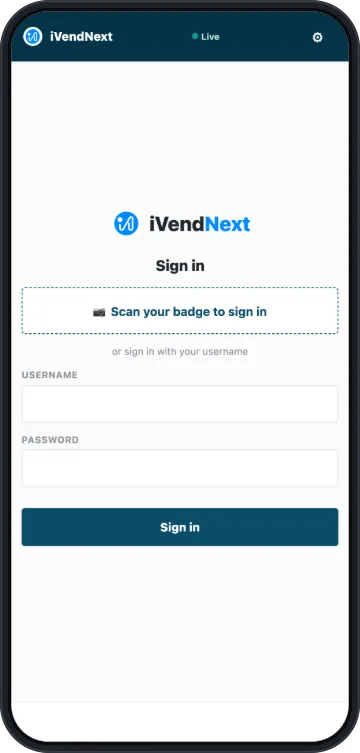
Enter your username and password, and tap Sign in. You sign in each time, and the device keeps no password.
If your site has badges switched on, you can scan your badge instead. Tap Scan your badge to sign in and use the camera, or pull the device's trigger on the badge. Your username and password still work.
For badges, an administrator ticks Allow Login using QR/Bar code in System Settings. The badge is the code in the QR/Bar Code field on the person's User record.
When the app locks
If you leave the device for five minutes, the app locks and ends your sign-in. Sign in again to continue. Work you saved on the device is still there.
Choosing your store
The app works in one store at a time, and the header shows which one. Everything you post goes to that store, unless a screen asks you for another.
To change store, open the Me tab and tap Switch beside Store. You stay signed in.
The home menu and the tabs
The Home tab lists nine tiles, one for each kind of work. Four tabs stay along the bottom:
| Tab | What it opens |
|---|---|
| Home | The nine tiles |
| Docs | Your saved work and your recent posts. This tab is marked while you work on a document |
| Lookup | Item Lookup |
| Me | Your store, your day and your device |
A tile you cannot use stays on the menu and shows no access. Tap it to see what is missing, then ask a manager.
The dot at the top of each screen reads Live when iVendNext is answering, and Offline when it is not. It tells you about iVendNext, not about your device's signal bars.
Three ways to enter a code
The app accepts a code in three ways wherever a screen asks for one.
The device's trigger. On a device with a built-in scanner, aim and pull the trigger. The code goes straight in, with no button to tap. The scanner must be set up to type the code and then press Enter, which is the usual setting for these devices.
The camera. Tap the camera button beside the scan field, and keep the barcode in the frame. It captures by itself. The panel also has a torch, and Type it instead if the label will not read. Some devices need a connection the first time they use the camera.
Typing or searching. Tap the magnifying glass beside the scan field to type a code or search for an item by name.
A store can allow scanning only. Typing and searching are then refused, and the screen says "Scanning is required here". A scan still works.
In Preferences, Scan input chooses what the scan field offers on this device: Camera or Gun. This setting shows only where the camera can be used. The camera button shows when it is set to Camera, and a trigger scan still works.
What happens when you scan
Each scan adds one unit to the line. You can also tap a line and type the quantity.
A barcode on a box depends on the screen:
- In Stock Take, it adds the units in the box.
- In Stock management and Purchase Order, the line takes the box as its unit and counts boxes.
- On a receipt, a transfer or a return, the label's unit must match the line. If it does not, the row refuses the scan and tells you which label to scan, or you can type the quantity.
A scan of an item's serial number adds a unit and records its serial. So if you scan an item's barcode and then its serial, the line counts two units. Scan one or the other for each unit. A serial you already scanned on the line is refused.
A barcode for a parent product, one that comes in sizes or colors, adds nothing. The screen asks you to pick the exact version.
When you are working on a document, a scan only finds what is on that document. An item that is not on it is refused, and the screen says so.
Entering serial and batch numbers
A line for a tracked item, one you track by serial number or by batch, shows ⏳ serial or ⏳ batch until its numbers are in. Save stays off until they are all there.
Tap the line, then tap Capture.
- For serial numbers, scan or type one for each unit. When the count matches, tap Attach.
- For batches, tap a batch the screen offers, or tap + Add batch. Enter the quantity and, on a new batch, the expiry date. The batches must add up to the quantity on the line before you can tap Attach batches.
The panel shows you what came in on the receipt or was sent on the shipment, where there is one. Your site may number batches for you. The panel then asks for no batch number.
An item the back office numbers by itself shows set for you, and you do not need to capture it on a receipt.